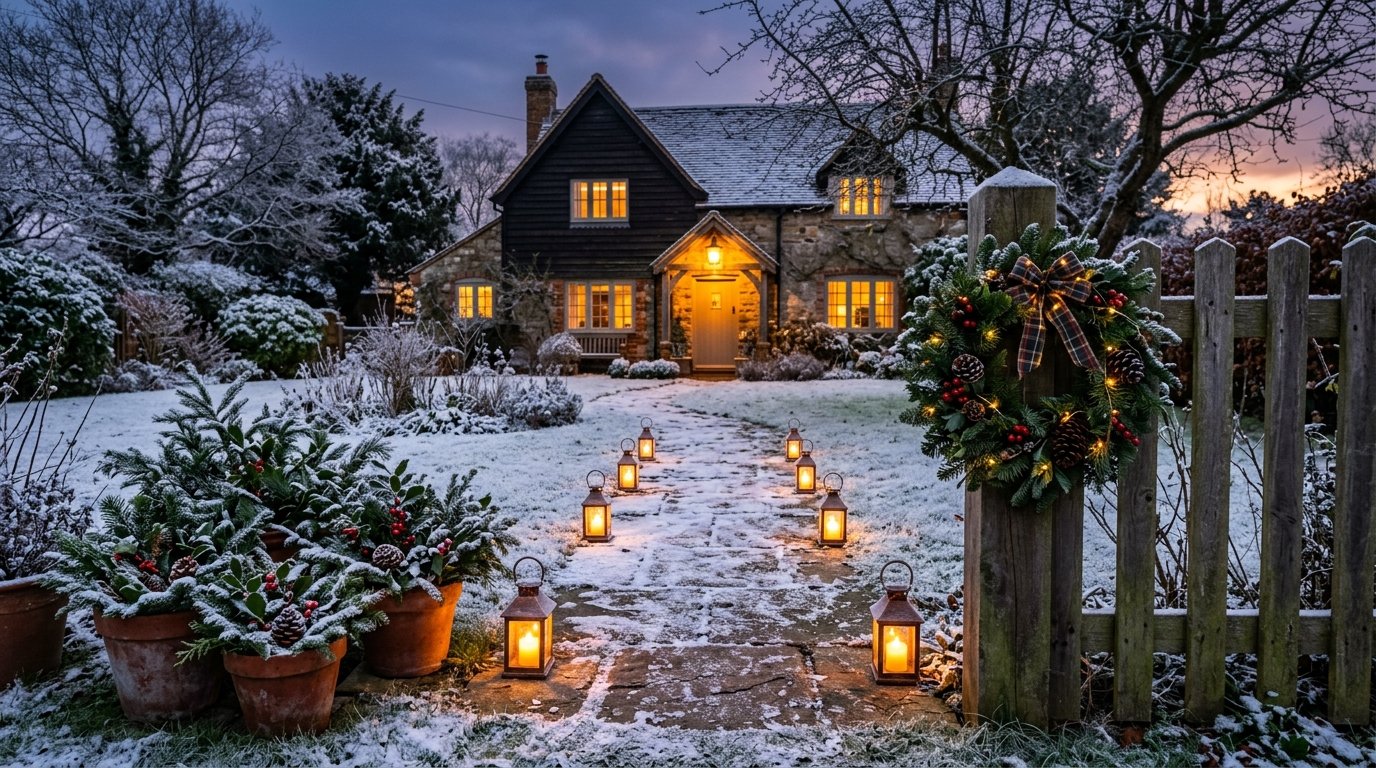
Your Front Yard Can Look Like a Christmas Card This Year (And It Won’t Cost What You Think)
My neighbor stopped her car in the middle of the road to ask me what I’d done differently. It was a Tuesday evening in early December, the kind of cold where your breath hangs in the air, and her headlights were pointing right at my front yard. I’d spent maybe thirty dollars and one afternoon.
That’s when I started taking outdoor Christmas decorating seriously.
—
1. Why Most Yards Look Cluttered (And What’s Actually Going Wrong)
Here’s the thing nobody says out loud: more isn’t more. Especially outside.
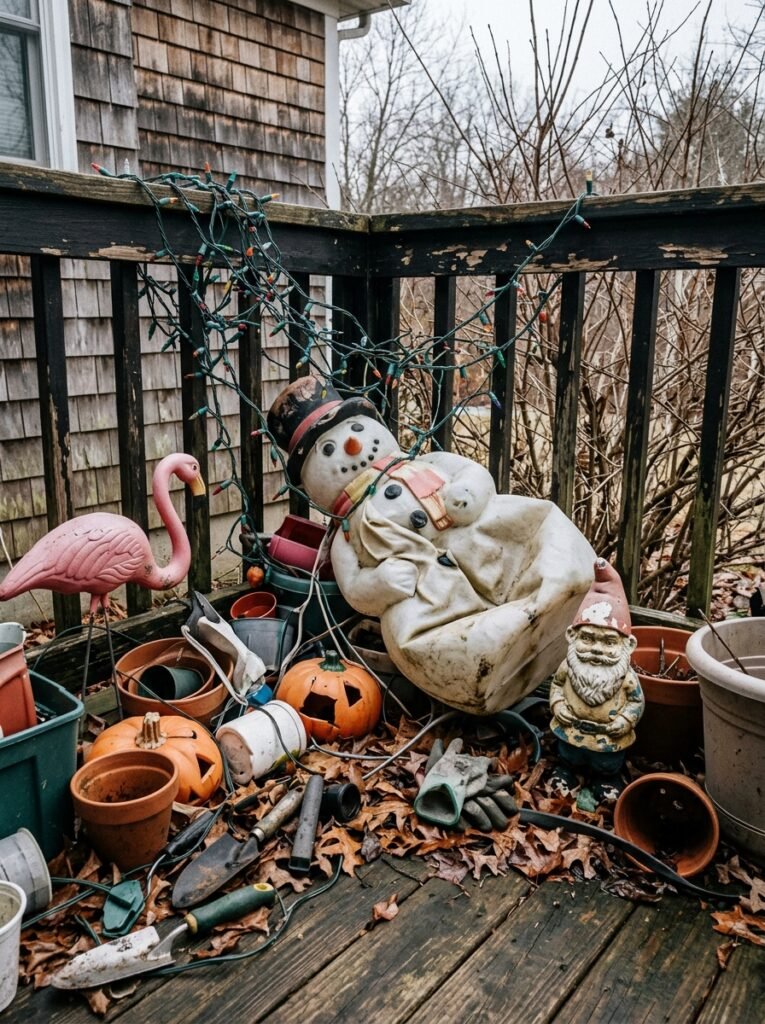
A front yard with forty-seven different things happening — inflatable snowmen next to a flashing reindeer next to three different kinds of garland — doesn’t read as festive. It reads as frantic. And I get it, I do. You buy one thing, then another catches your eye, and suddenly you’ve got a yard that looks like a Christmas shop exploded.
The yards that stop traffic, the ones that end up on Pinterest — they almost always have ONE clear focal point. One thing your eye goes to first. Everything else supports that thing, it doesn’t compete with it.
So before you buy a single item or drag anything out of the garage, spend five minutes standing on the pavement across from your house. Just look at it. What’s the most interesting architectural feature? A big front door? A porch? A gorgeous old tree? A pathway? THAT’S your anchor. Build from there.
2. The Easiest Outdoor DIY That Actually Looks Expensive
Luminarias. I will die on this hill.
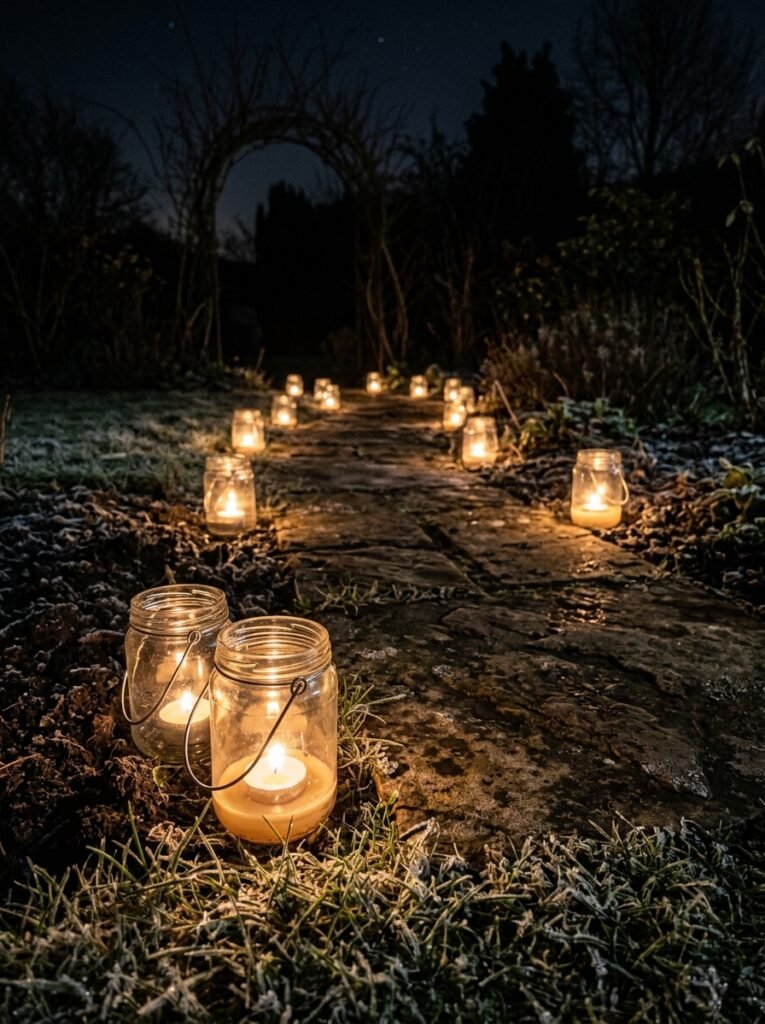
They’re literally paper bags, sand, and tea lights. Or — if you’re somewhere windy, which is most of us — battery-operated tea lights that flicker beautifully. You line them along your front path, maybe up your porch steps, and the effect at dusk is genuinely stunning. Warm glowing pools of light, evenly spaced, all the way to your door.
Cut snowflake shapes out of the bags before you fill them with sand if you want shadows. Or leave them plain. Or write house numbers on them in marker if you’re feeling practical. The version you see in magazines probably cost them nothing and took twenty minutes.
“Luminarias might be the only outdoor decoration where the cheaper version looks better than the expensive one.”
In the US you can find paper bags at any grocery store. UK readers — brown kraft bags work perfectly and you can get packs of them easily online or at craft shops. Just make sure the bags are tall enough to keep the light source a few inches from the top edge.
3. Branches Are Free and Nobody Is Using Them Enough
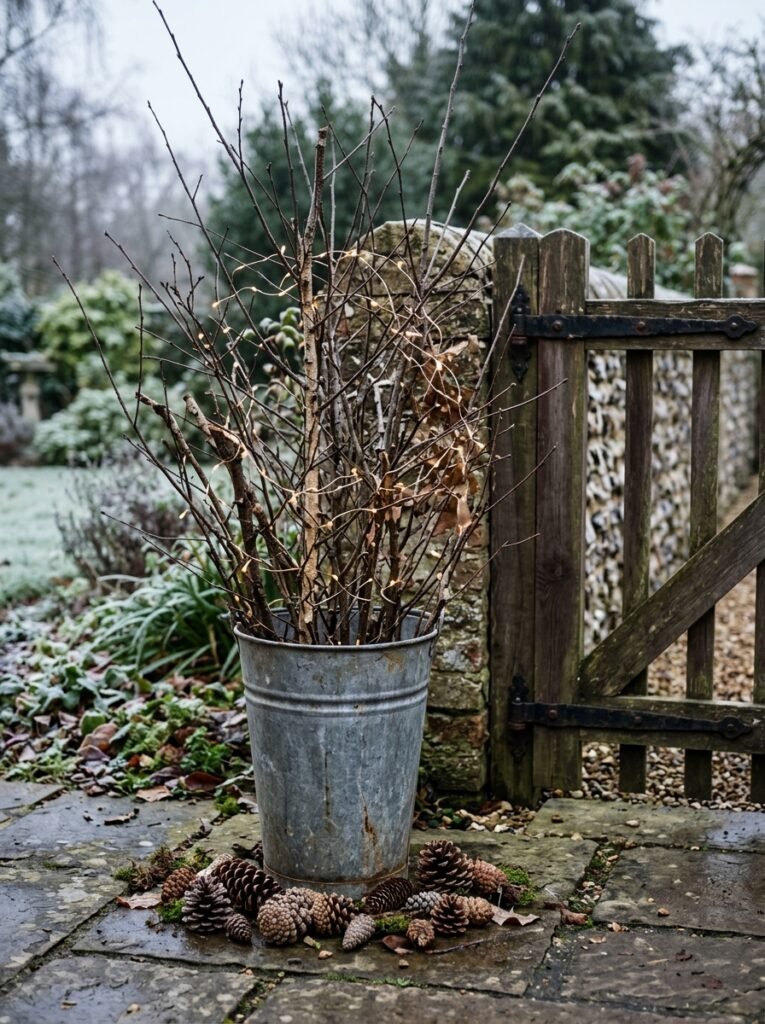
Go find some bare branches. Seriously, go look in your yard or down the street after the wind’s been through. Those gnarly, sculptural branches that look like nothing? They’re about to become your best decorating material.
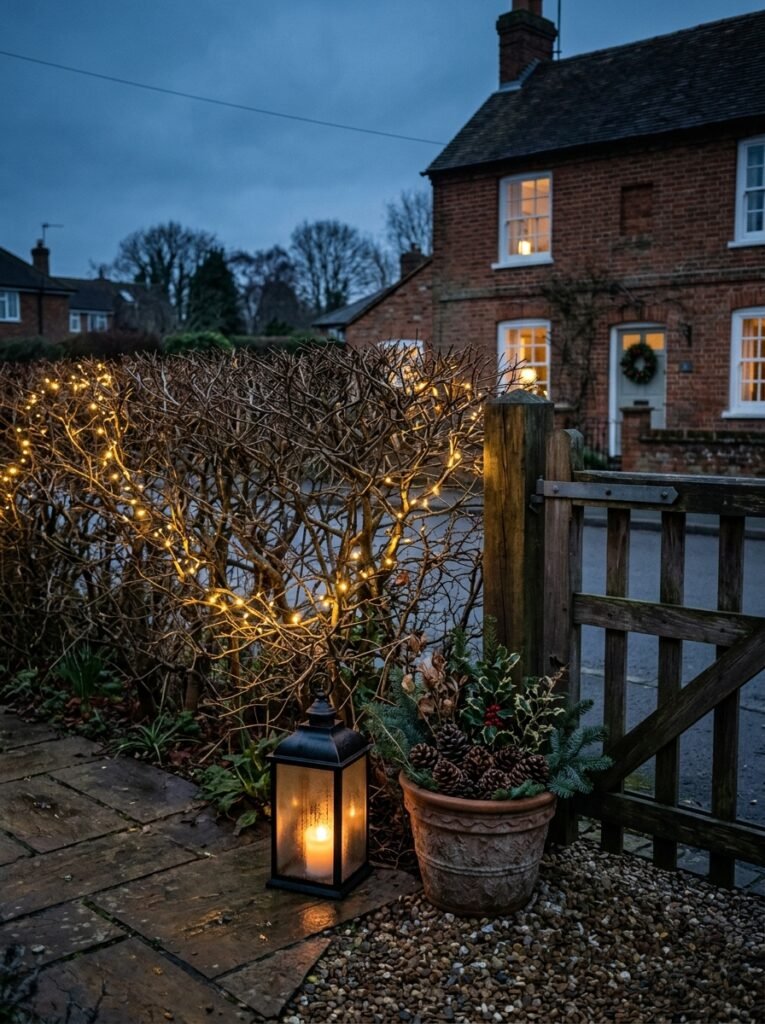
Stick a bunch of them into a large pot or planter by your front door. Then wrap them with warm white string lights — the kind with the tiny bulbs, not the big chunky ones. You’ll get this effect that looks like you spent real money at a garden centre, but it’s just… sticks. And lights.
You can add a few oversized ornaments hanging from the branches if you want to push it further. Big matte balls in one color — deep red, or forest green, or even black if you’re feeling bold — look incredible against bare wood. Add a few pine cones you picked up on a walk, maybe a bow at the base of the pot, and that’s it.
That’s a front door situation people will photograph.
4. The Color Rule That Makes Everything Outdoors Look More Intentional

Pick two. Maybe three if one of them is neutral.
Two colors. That’s your whole outdoor palette. Because outside, against the sky, against the street, against your brickwork or siding — color multiplies. What looks like “just a couple of red things” inside the house looks like A LOT when you’re outdoors.
The combinations that tend to work best outside? Deep red and natural greenery with touches of gold. Or white lights with icy blue ribbon. Or — my personal current obsession — copper and forest green together, which photographs beautifully and feels a bit more unexpected than the standard red-green situation.
Whatever you pick, repeat it. That ribbon color on the wreath? Same on the garland. Same on the pot by the door. Repetition is what makes it feel designed rather than assembled.
5. A Wreath Isn’t Just for Your Door
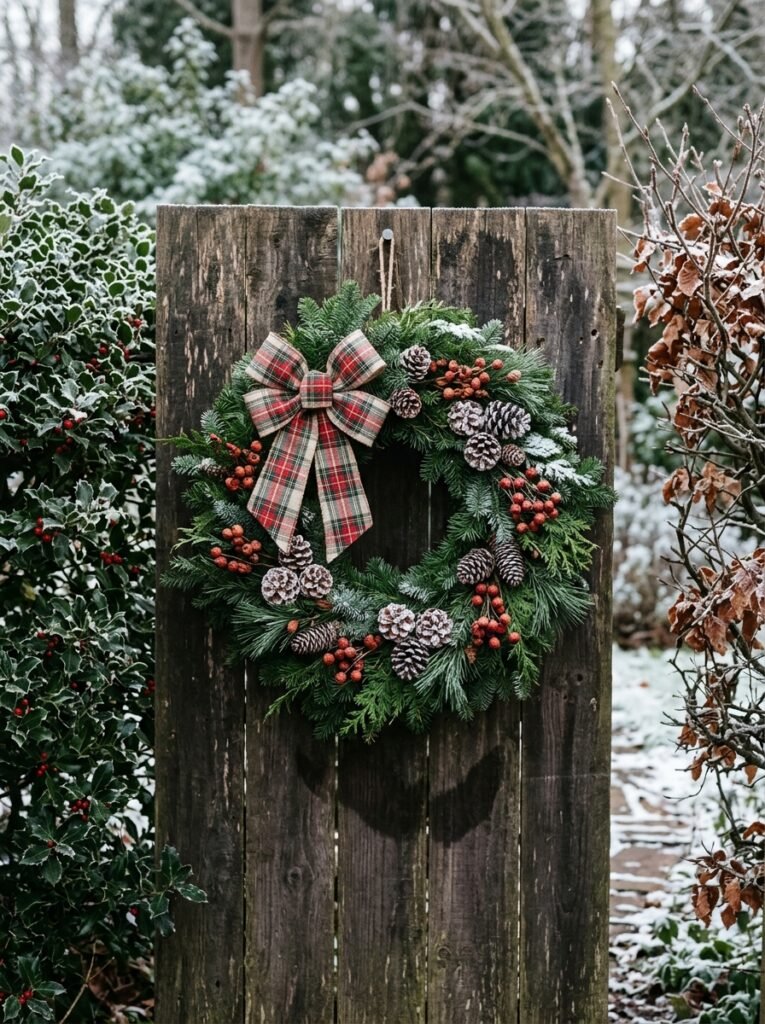
I mean, put one on your door. Absolutely. But a wreath on an outdoor lantern? On a window? Propped against a pot? Layered in front of another wreath in a slightly different size?
This is where outdoor Christmas decorating gets actually fun. Once you’ve made or bought a few simple wreaths — or even just picked up some plain greenery rings from a garden centre and dressed them yourself — you can use them everywhere.
A plain evergreen wreath costs almost nothing to make if you have access to any kind of pine, eucalyptus, holly, or even cedar branches. Wire them onto a basic metal wreath frame (wire cutters, fifteen minutes, done). Then add whatever ties into your two-color palette. A velvet ribbon. A few stems of dried orange slices. A pine cone or two. A cluster of berries.
“The wreath you made yourself will always look better to you than the one you bought. And honestly? It usually looks better to everyone else too.”
Hang a smaller one on each ground-floor window and it transforms the whole front of the house. Especially in the UK where you’ve often got beautiful sash windows — something about a wreath centered in a sash window is just incredibly satisfying.
6. Garland Without the Misery of Stapling It Wrong
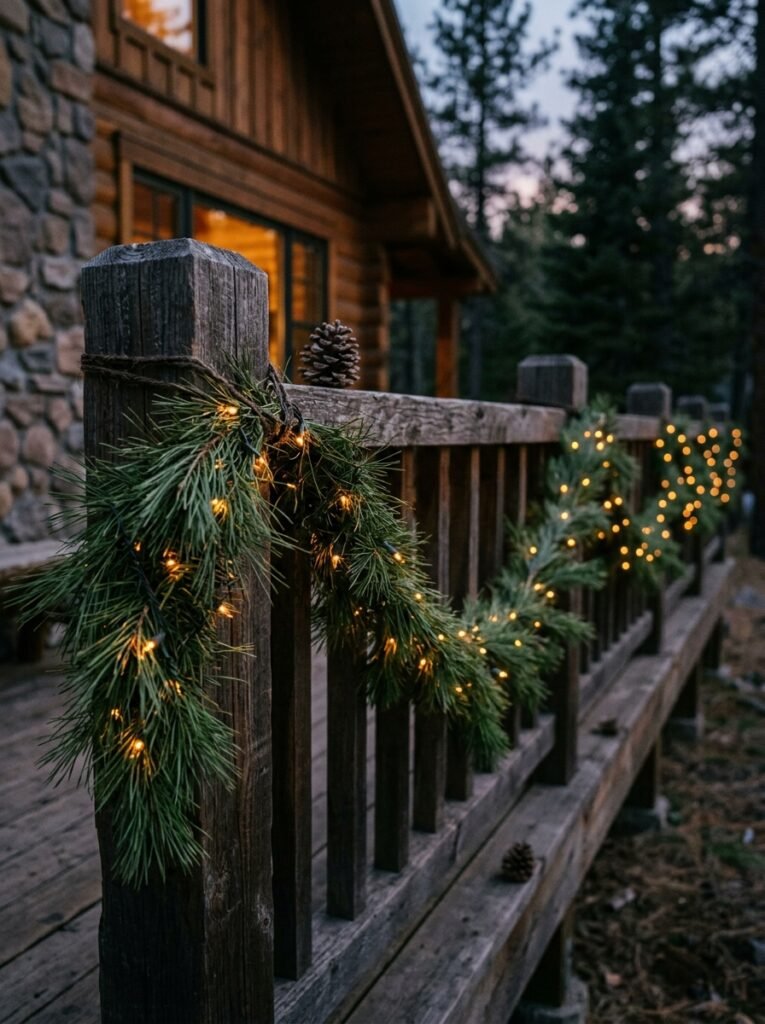
Outdoor garland is the one decoration people consistently mess up, and it’s almost always because they’re fighting against the weight of it. Real or faux greenery is heavy when it gets wet. Wind pulls it sideways. Staples come loose.
Here’s what actually works: zip ties to a hook, not staples. Screw small cup hooks wherever you want the garland to drape, then use clear zip ties to secure the garland to each hook. It won’t move in the wind, it won’t sag in the rain, and you can take it down without destroying your porch railing.
For the draping shape — loose swags look intentional, over-tightened garland looks like it’s nervous. Give it some slack. Each swag should dip generously between anchor points. That relaxed drape is what reads as “designer” versus “afterthought.”
Add your lights before you hang it. Much, much easier. Same with any ribbon or ornaments — get everything on the garland while it’s on the ground, then hang the finished thing.
7. The One Thing That Makes a Dark Yard Come Alive
Uplighting.
Not the harsh flood kind. I mean small, warm-toned solar stake lights pushed into the ground around your feature tree or your front hedges, angled upward so the light washes over the texture of bark or leaves from below.
The effect is completely disproportionate to the effort. Two or three warm-toned solar spotlights at the base of a tree, combined with string lights in the branches above — it looks like the tree is glowing from the inside. On a cold night with a clear sky, it’s genuinely a bit magical.
This works in tiny yards too. Actually it might work BETTER in small front gardens where a larger light display would feel overwhelming. A few stake lights around a single small tree or topiary, a luminaria path to the door — that’s a complete, beautiful scene.
8. DIY Outdoor Ornament Clusters (That Won’t Blow Away)
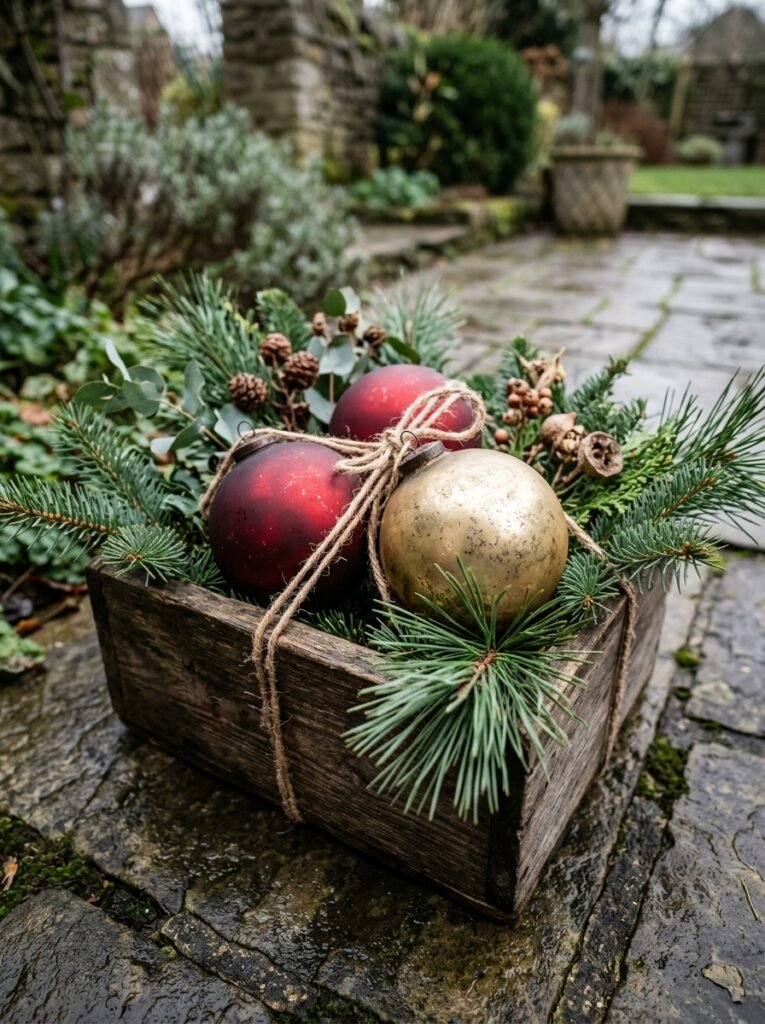
Here’s a real problem nobody talks about. You put large ornaments outside. Wind happens. They’re in the street.
The solution is simple: fishing line and garden wire. Hang your outdoor-rated ornaments with a length of fishing line, then anchor that line with garden wire twisted around a branch, a stake, a hook, whatever you’re working with. The fishing line is invisible. The ornament appears to float. And it’s not going anywhere.
For a really dramatic effect, cluster different sizes of the same color in one spot rather than spreading them around. Seven ornaments of varying sizes — say, four large and three medium — all in matte gold, grouped together on a branch or hanging from a shepherd’s hook in your yard? That’s a focal point. That’s what gets photographed.
Don’t use plastic ornaments if you can avoid it. They look fine in photographs but on a dull British afternoon or a grey December day in the midwest, they look obviously cheap. Matte glass or matte finish outdoor ornaments are worth the slightly higher price.
9. Snow That Isn’t Snow (For UK Readers Especially)
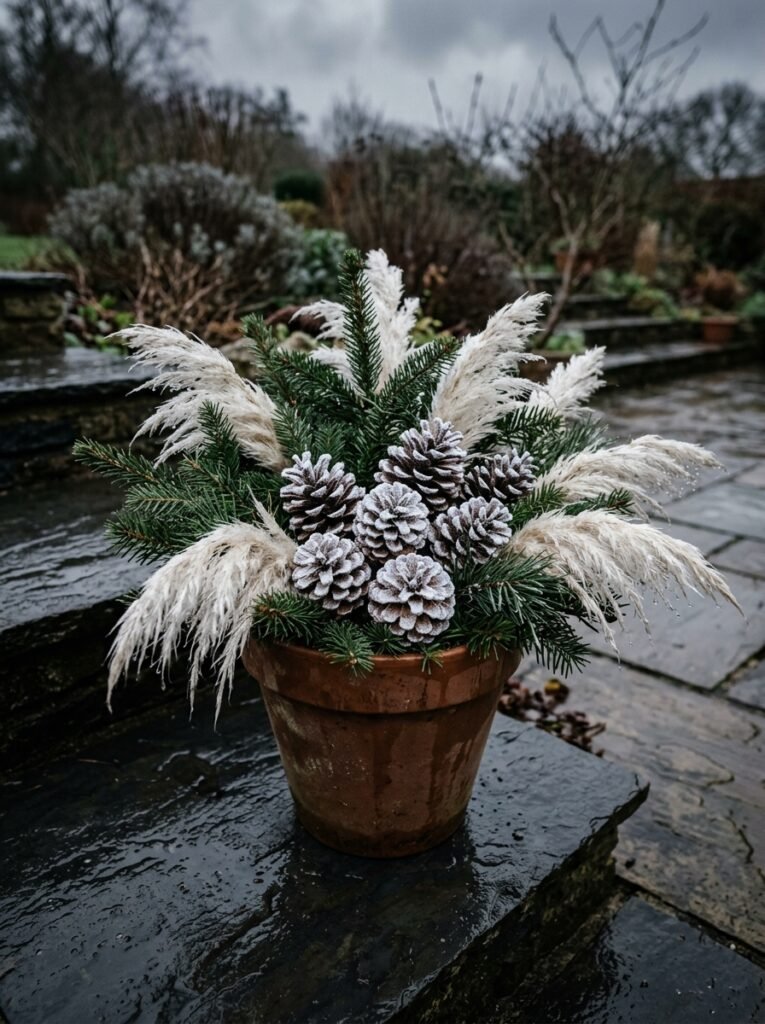
Look, most British Christmases don’t involve actual snow. And even in the parts of the US where snow is coming, it’s not always there in December when you want the yard to look good.
Fake snow spray on pinecones = deeply underwhelming.
But white-painted pinecones? Dried white cotton stems? Bleached pampas grass tucked into a pot? These give you that cool, wintery, almost-snowy texture without looking naff. A pot filled with white-painted branches, or tall bleached dried grasses mixed in with your greenery — it reads as “frost” and “winter” without reading as “plastic snow product.”
“You don’t need snow. You need the feeling of cold, and that’s a completely different design problem.”
10. The Porch Step Situation Nobody Gets Quite Right
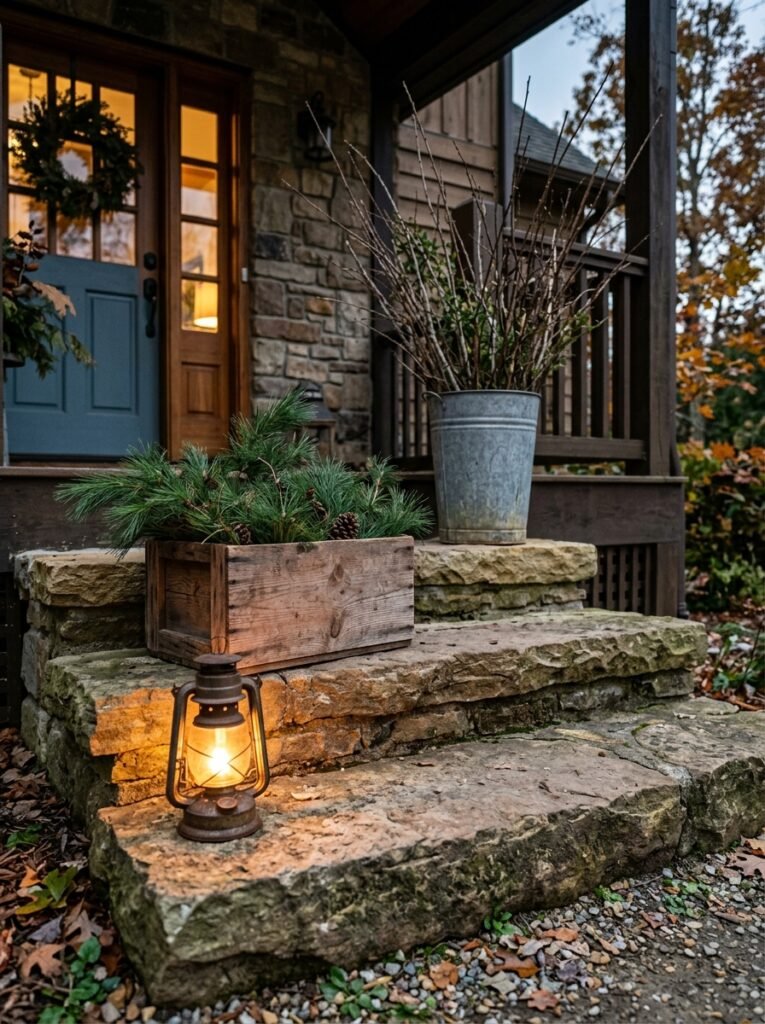
Steps are such an opportunity and most people completely waste them.
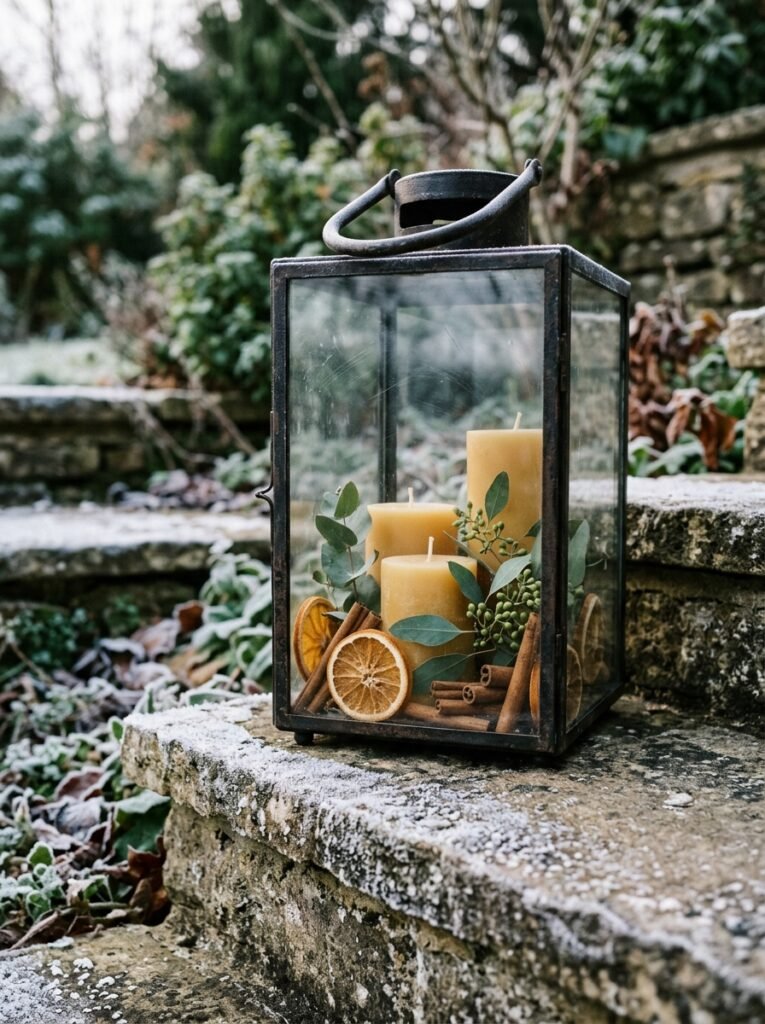
You don’t need matching potted trees on every step — though those are lovely. You can do something more interesting. A single fat lantern on one side of the bottom step. A cluster of pinecones mixed with greenery on another. A small wooden crate filled with ornament balls. Steps work because they’re already a natural riser — they want to display things.
The trick is odd numbers. One lantern or three. One cluster or five. Even numbers feel commercial and planned; odd numbers feel gathered, collected, like you had a few lovely things and put them where they looked right. Your eye relaxes with odd numbers.
Also — candles in lanterns on porch steps look gorgeous, but if you’re somewhere with any real wind or rain, battery candles are the move. The quality of battery candles now is genuinely remarkable, not gonna lie. Some of them flicker in patterns that are basically indistinguishable from real flame.
11. A Dollar-Store or Pound-Shop Trick Worth Knowing
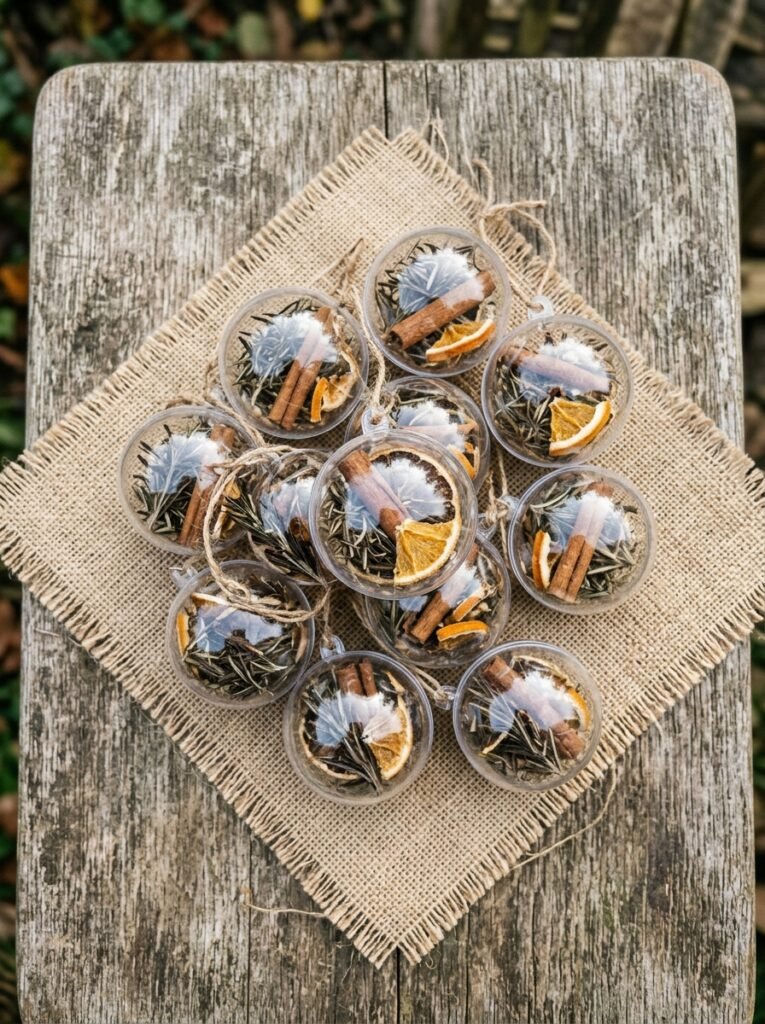
I know, I know. But hear me out.
Plain glass ball ornaments in bulk — the kind that come in huge packs for very little money — painted on the inside with craft paint and used as outdoor decoration become almost unrecognizable as budget items. You pour a little paint inside, swirl it around, let it dry, and what you get is this beautiful streaky marbled interior effect.
Do a whole cluster in the same color family but slightly different shades. Or do them in gold and white together, so some have gold interiors and some have white. Hang them outdoors in your groupings and they catch the light differently than solid-colored ornaments — that interior depth makes them look deliberate.
This is also a genuinely good activity to do with kids, side note. It’s a little chaotic and a little meditative at the same time, which is a rare combination.
12. The Thing That Pulls It All Together (And It’s Not a Decoration)
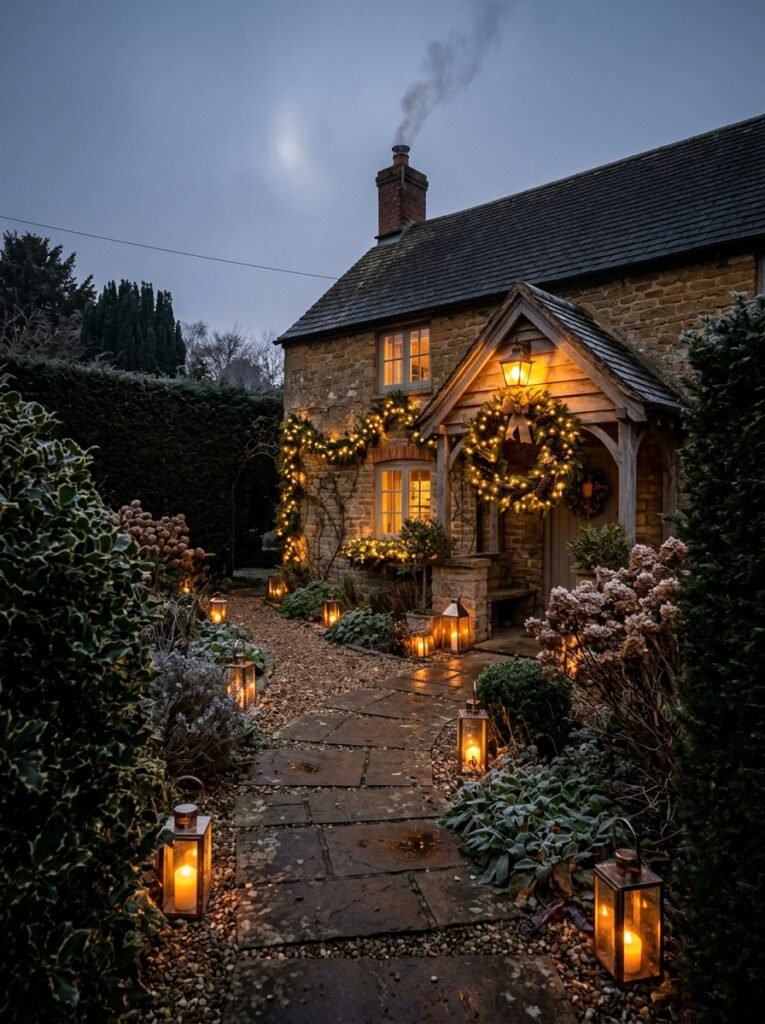
It’s light. Specifically: the warmth of your light sources and whether they match.
This is the mistake I see constantly in outdoor Christmas setups that look slightly off. One string of warm white lights, one string of cool white, one set of coloured bulbs, a few harsh solar lights — they fight each other. Nothing looks cohesive because the light temperature varies.
Commit to warm white. Almost always. It’s flattering on architecture, on faces, on greenery, on everything. Cool white looks beautiful in very specific minimalist setups, but warm white is forgiving and works with virtually any style or palette.
And turn everything on before it gets fully dark. Walk across the street and look at it the way your neighbor does. You’ll immediately see what needs adjusting — a gap in the lights, a drooping garland corner, a pot that’s facing the wrong direction. The golden hour, when it’s just getting dark and the sky is still purple-blue, is when your outdoor lights look the absolute best. It doesn’t last long. But that’s when the photo happens.
—
❓ FAQ
Q: How do I keep outdoor Christmas decorations from blowing over in the wind? A: Weight and anchor are the two words to remember. Fill decorative pots with sand or gravel at the base before adding your display. Use garden wire or zip ties rather than tape or staples for garland. For standalone decorations like lanterns or figures, either stake them into the ground or place them where they’re naturally sheltered — against a wall, in a corner, under a porch overhang.
Q: What’s the easiest outdoor DIY Christmas decoration for a complete beginner? A: Luminarias, without question. Paper bags, sand or stones for weight, battery tea lights. Line them up along a path or steps and you’re done. They take about twenty minutes and look genuinely lovely. The only version that doesn’t work is using real candles somewhere windy or where they could tip over — battery tea lights are both safer and more reliable in any weather.
Q: Can I make outdoor Christmas decorations work in a small front garden or just a doorstep? A: Absolutely — and honestly, small spaces often look better decorated than large ones because there’s natural containment. Focus on one really good pot arrangement flanking the door, a well-dressed wreath, and a simple light source like stake lights or a lantern. That’s a complete, intentional scene. You don’t need a big yard to have a yard that turns heads.
—
💭 Final Thoughts
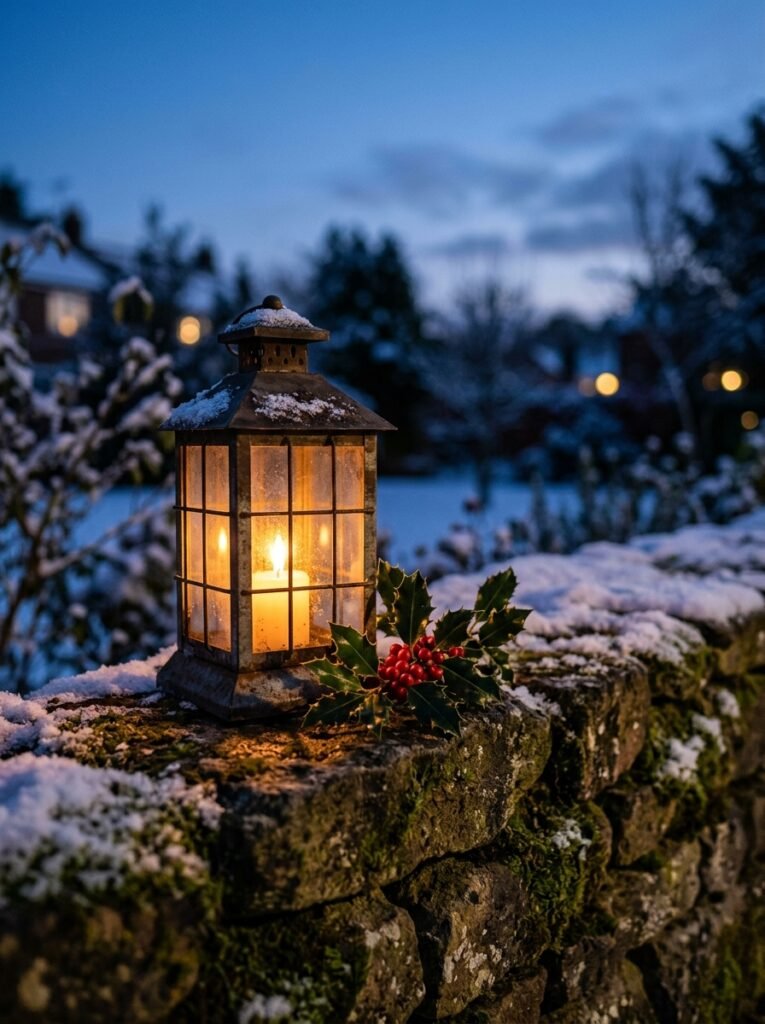
The yards that I remember — the ones I’ve actually slowed my car down to look at — they weren’t necessarily the biggest or the most elaborate. They were the ones where someone clearly thought about what they were doing. Where everything felt like it belonged together. A few beautiful things, well placed, with good light.
You’ve got more than enough to make that happen this year.
What’s the one thing about your front yard that you’ve always wanted to do something with but never quite figured out how?